
However, this "tutorial" isn't much of a tutorial. I really just went ahead and fudged-it. I was going to do a lovely tutorial showing how to use a stencil, etc, etc. Then I looked at the pumpkin, thought about how long this tutorial was going to take me to do, and just decided to free-hand it instead. Sorry! But here is how I did that:

I printed out a fancy "Welcome" from my computer, so I had something to reference. I taped paper on top and on bottom of where I wanted to write, so I had a line reference, so my "word" had some chance of turning out straight. (Apologies for the weird angles, and my legs in the shots, but it was hard to hold the pumpkin any other way and get a good photo).

First, I drew on a basic outline (just with a black permanent marker).

Next, I fleshed out the letters, to give it weight and more flourish.

Then I added a little extra flourish to either side. I literally googled "flourish" to find an example! LOVE Google!!!

For the next pumpkin I copied a little stamp I had just purchased.

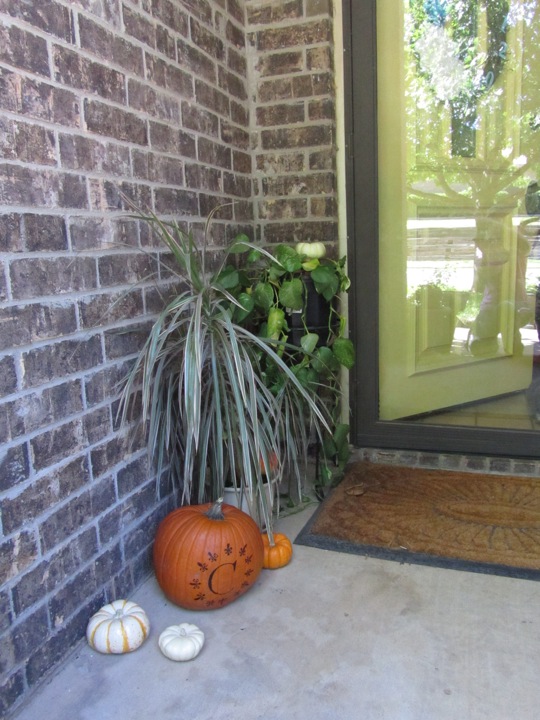
And here is the front area with the pumpkins and the mums! Looks like Fall :)


Glad I got motivated and got it done!

No comments:
Post a Comment