
Finally finished the playroom side of the room (well, for the most part - enough to reveal it). I only have a few little projects left to do, when I get some spare time (hahahaha! time!!?? who has spare time!).
When we moved into our house I was pregnant with our first child. We were lucky to score a nice 4 bedroom home, with a big backyard (a rarity unless you buy an older home, which is what we did). My husband claimed one of the bedrooms as his "office/junk room". I'm glad it is at the back of the house - I don't go in there unless it is to dump something of his in there - LOL!!! So I claimed the dining room as my office/kid's playroom. We don't have a dining room setting/table/furniture, so this arrangement works great for us. We now have two beautiful girls, who definitely need a functional playroom, where I can also hang out and work, whilst keeping an eye on them.
Now, this room has evolved along the way - DRAMATICALLY! I started out with a little furniture and no real direction. After numerous, numerous, numerous changes/furniture rearrangements I'm hoping now this "final" set-up will work for us :)
So here are some BEFORE photos (these are the most recent before photos - I won't bore you with all the other versions I went through before this one!):


My main problem was the mess. Mess from me with my HUGE desk, and mess from the kids. We were always getting in each others way - it was driving me CRAZY!! So I did lots of research on-line to see what solutions could work for us, hopefully utilizing what I already had. My main inspirations was this first Pottery Barn playroom image, plus bits and pieces from the other images:
Nice storage, clean design - pretty colors.

Lots of lovely storage and great table set-up.

Lots of storage and love the globes!. What a great family room.

WOW - this one has SO much storage - awesome!

Pretty colors, love the "tree" board idea, and the doll house (totally going to try to make that!).

Great set-up, so much room and love the color scheme too.

What a great spot to chill out in!

Great space for imaginative play.

Nice storage and like the cork and black boards.

Another one with great storage and table set-up.

So what did I learn:
1. Group all toy storage together for a more clean comprehensive look.
2. Divide room into halves - one for the kids, the other for me.
3. Move kids' table and chairs away from the wall to free up enough wall space for storage.
4. Use all existing storage - bookcases onto cube storage for better look.
5. Clean up wall decorations for cleaner look.
So here it is - THE PLAYROOM...
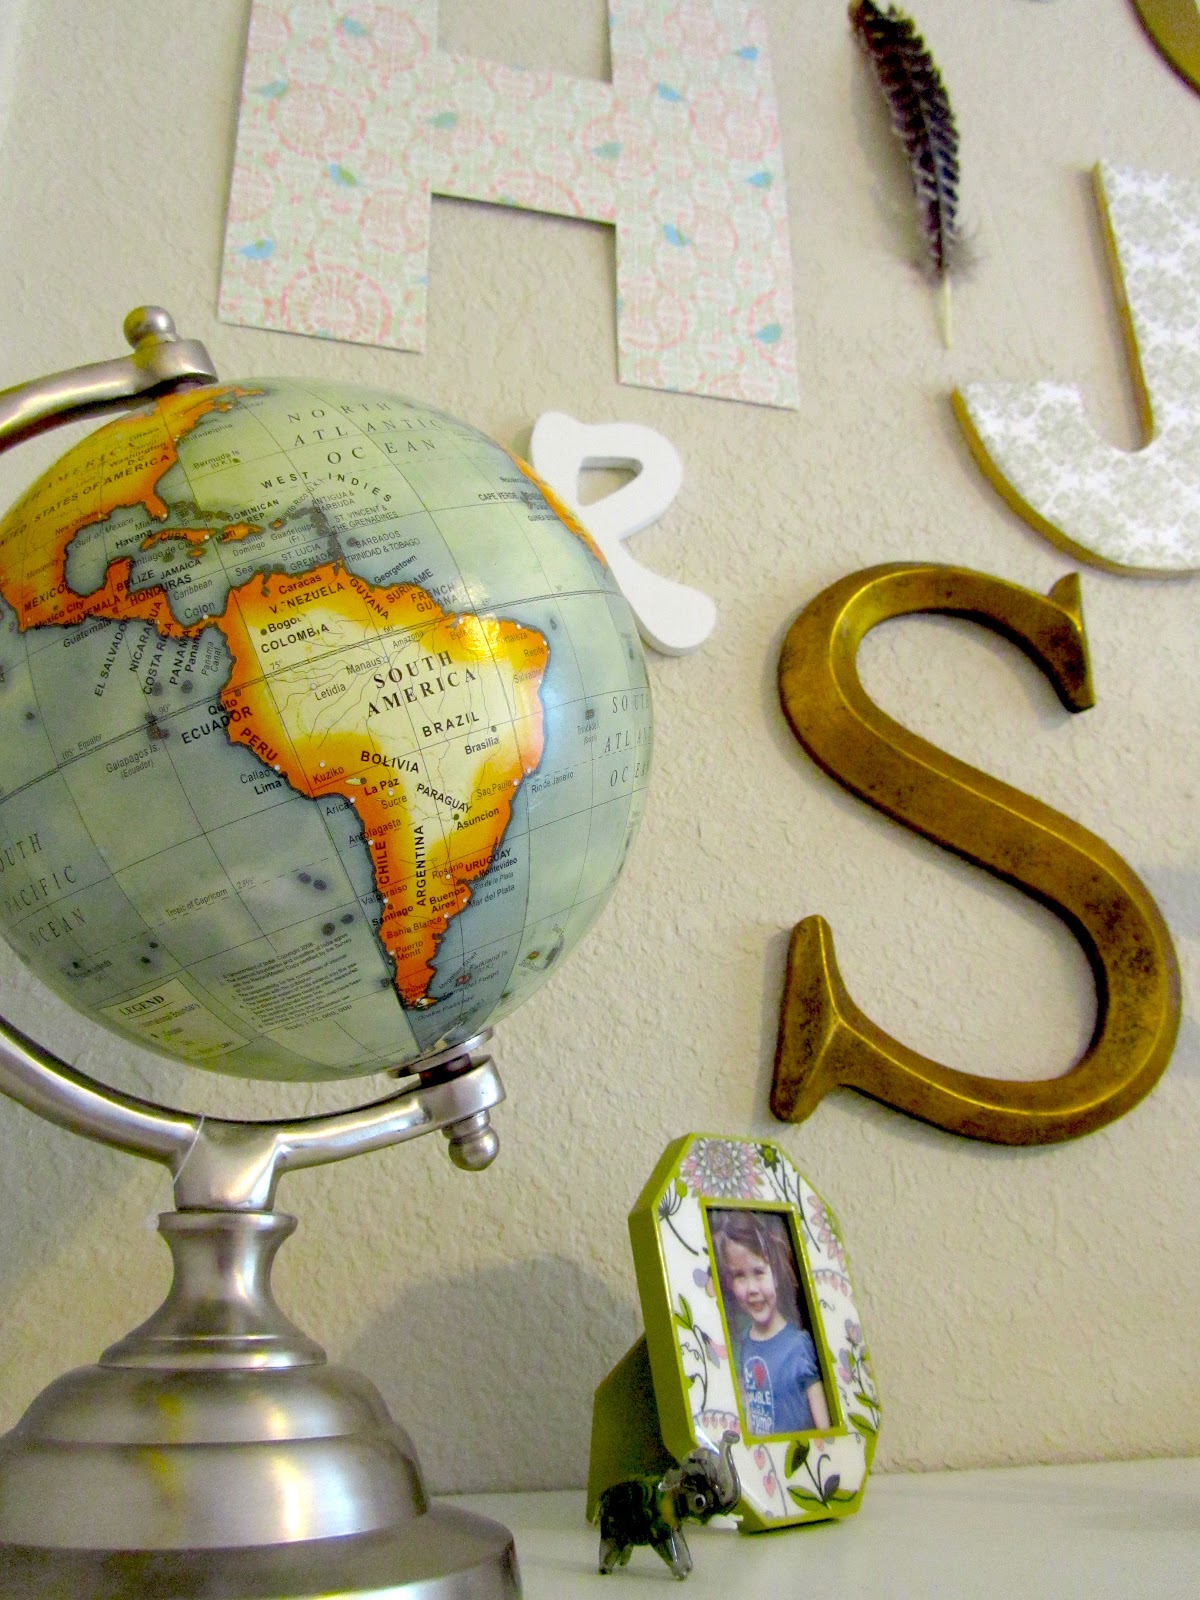
Alphabet on the wall (98% completed).


Two clocks - one for US time, the other for Australian time :)

School bus shows our schedule for at-home play and learn.

Lots of lovely storage, all together :)

Dress-up corner.

Painting board inspired by a Pottery Barn one (made by my father-in-law - awesome!!)


It is all in a small space, but it is working! Clean up is fast, everything has its place. And I think it looks great.
And here is a little sneak-peak at my craft corner. More to come :)


totally cute space! i bet it feels so refreshing to walk in there...good job mama.
ReplyDelete